08
Sep 2022
How Is Underfloor Heating Installed?
How Is Underfloor Heating Installed?
It’s not difficult to understand why underfloor heating is becoming a more more popular method of heating. Ufh has multiple benefits, such as saving space, guaranteeing that flooring like tiles and stone is warm underfoot and providing comfortable heat.
Knowing the process and determining whether you have the time to install underfloor heating is important. Here, we’ll go through the installation process for underfloor heating so you can decide if it suits you.
Pulling The Floor up
Many people think that when installing underfloor heating, your existing floor will need digging up. However, this is not the case. Digging your floor up is the old-fashioned way of installing underfloor heating. Instead, we have learned an easier and more efficient way to install your new underfloor heating system!
The placement system of the underfloor heating you choose will determine how your ufh system is installed. Regarding how the planks lock together, most come under the tongue-and-groove or click categories.
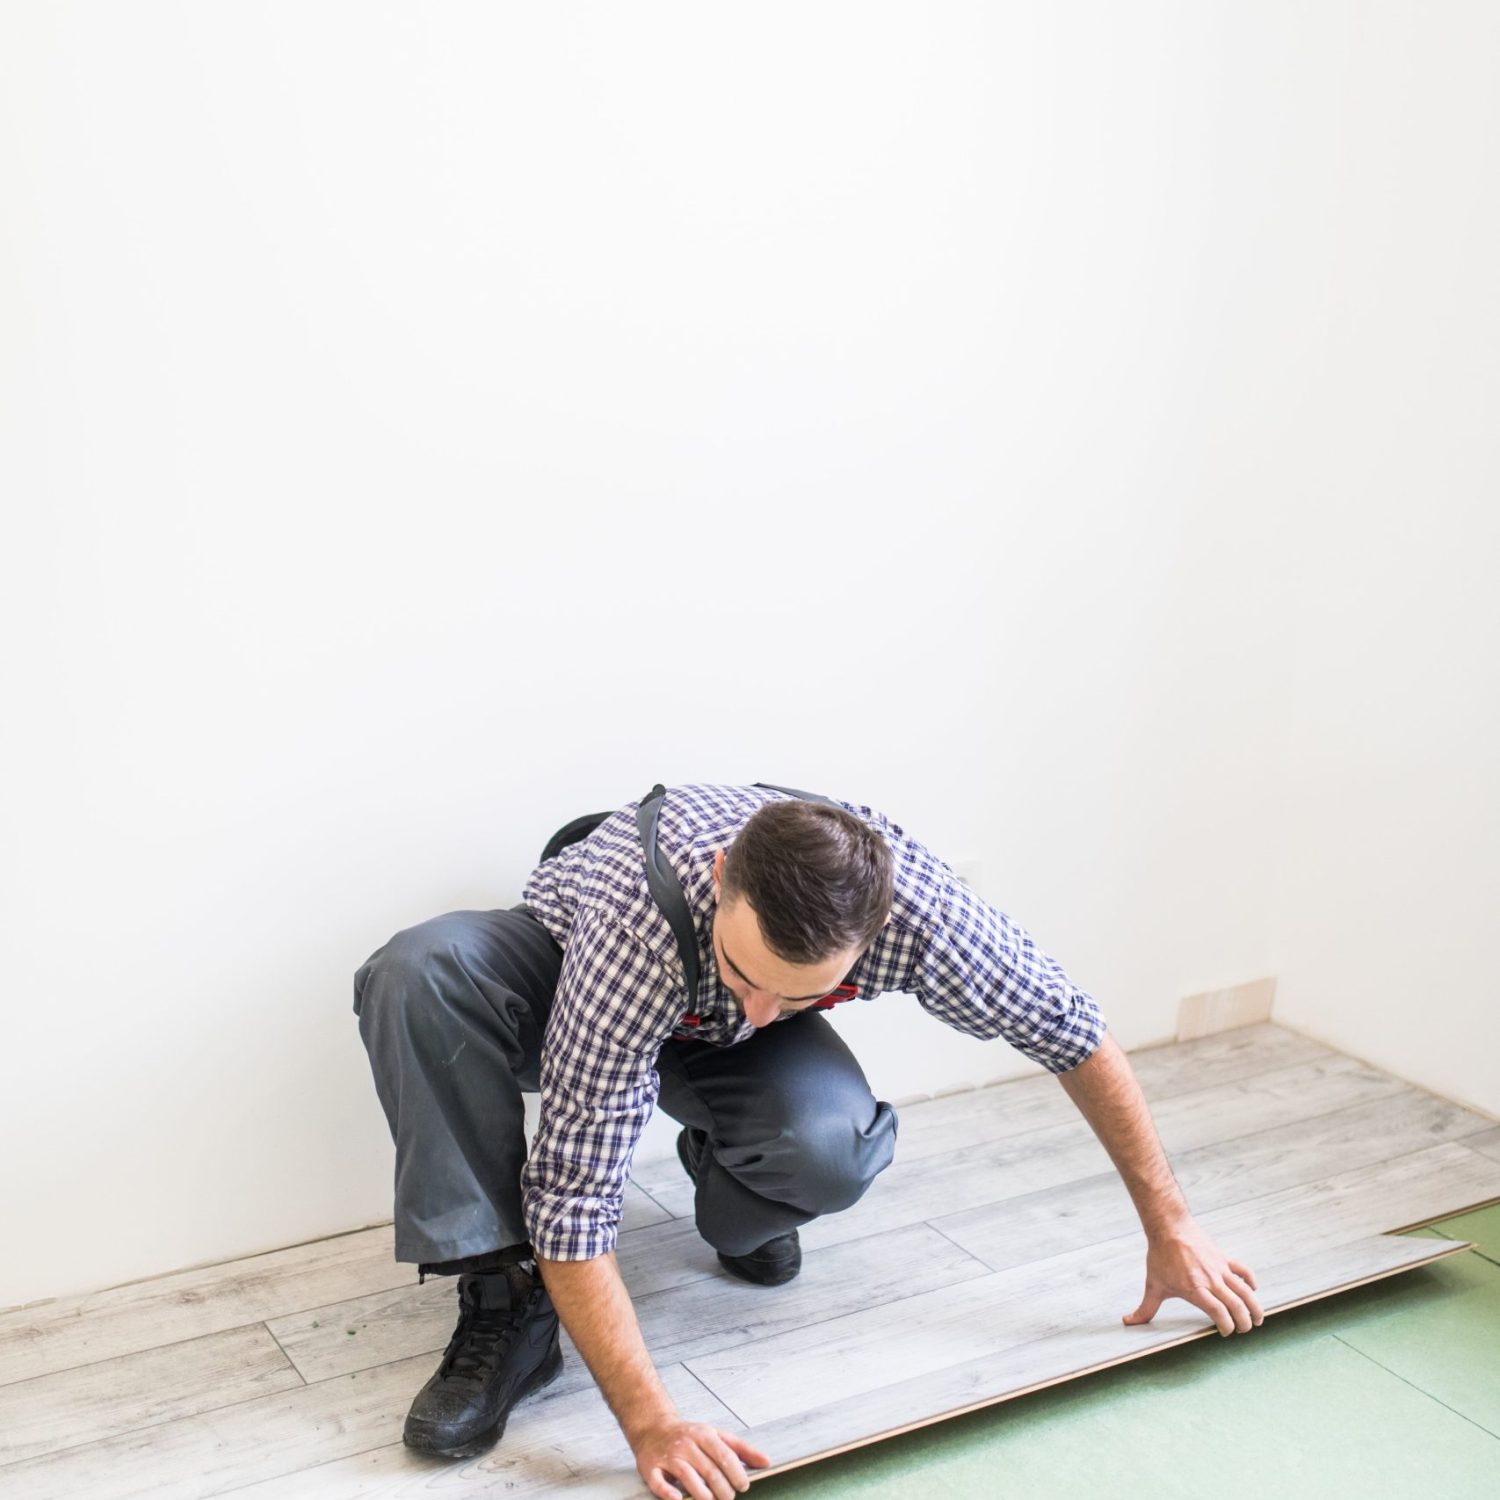
The tongue-and-groove flooring is nailed down to join the boards together. So the nails must be pried out using a crowbar to release the boards. The row of boards nearest the wall must have top nails showing, and the perimeter is removed.
Since click flooring is made simple to assemble, taking it apart should also be simple. The installation’s ending point is located and prodded up. Then, the same procedure removes the entire row next to the wall. This will detach the individual boards by flipping them over and releasing the bottom clicks.


Laying The Pipes
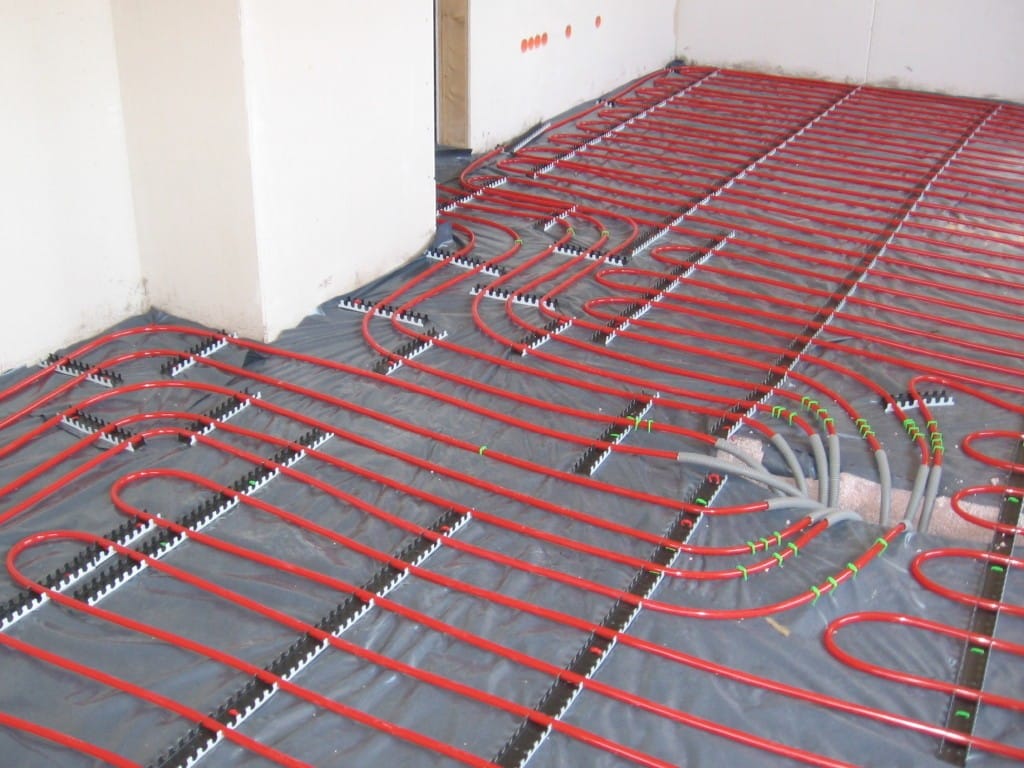
An underfloor heating system installation should have a guide. This will allow you to make sure you don’t lay the pipes incorrectly and run out of them before covering the area.
The instructions should include whether to lay the pipes in a spiral or from left to right across the room. If you have to manually bend the pipes, ensure they are appropriately placed so that the heat will be distributed equally when the system is running.
Fix the manifold to the wall close to the circuits while positioning it so it can be plumbed similarly to a radiator. The air in the loops during installation is a typical issue if they are not properly flushed before being utilised for the first time. Each one needs to be flushed separately by opening the valve that connects it to the manifold to ensure there is no air inside one of the loops.
Screed
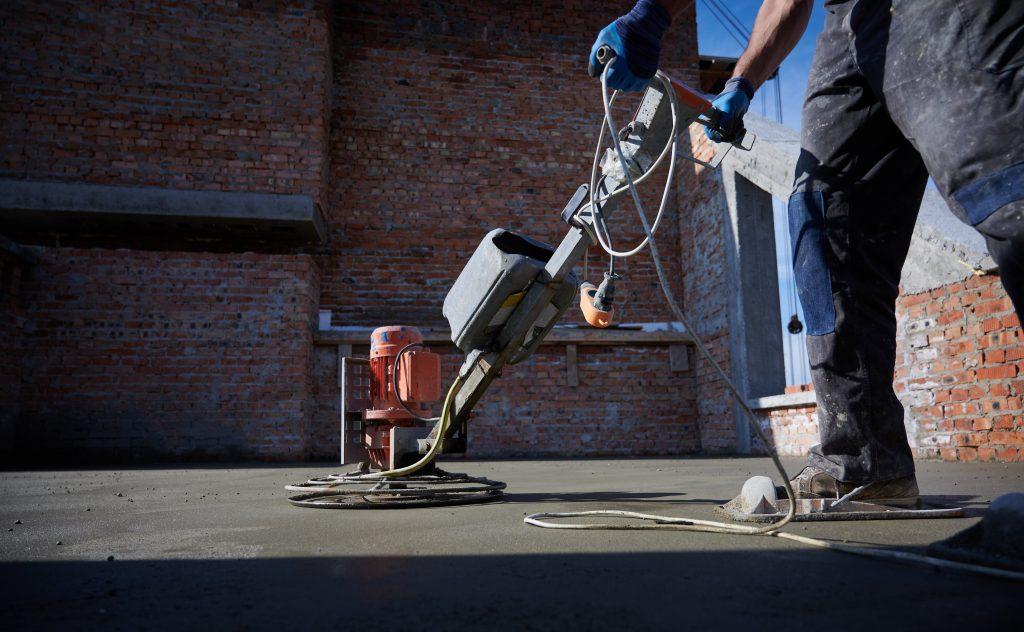
The screed that covers underfloor heating systems helps with insulation and makes it easier to feel the heat produced more quickly. You should speak with an expert to find out what kind of screed to use and how deep it should be.
Ensure the pipes are firmly fastened, and the insulation is flat on the subfloor. Expansion joints must also be fitted to allow for this movement. This is because, it will expand and contract in response to the heat and is rendered worthless if it develops a fracture. Before turning on the heating system, the screed must naturally dry after being laid.

After Installation
You must let the screed dry before turning on the system to avoid damaging it and creating cracks.
Other than that, underfloor heating systems don’t require much maintenance. This is one of the things that makes them popular heating options. If the system suddenly stops operating, get in touch with the manufacturer. If the issue is unrelated to the equipment itself, they might suggest that an electrician or plumber come to have a look.
If you are interested in purchasing underfloor heating, contact us today for expert advice or to buy your system today or fill out the form below!
