02
Aug 2023
How To Lay Underfloor Heating Pipes
A cosy and effective heating option for your house is underfloor heating (UFH). However, the underfloor heating pipes must be laid out properly to achieve even heat distribution and top performance. This blog post will provide a step-by-step tutorial on installing underfloor heating pipes, assisting you in completing a job that maintains your space warm and comfortable.
Step 1: Plan and Prepare
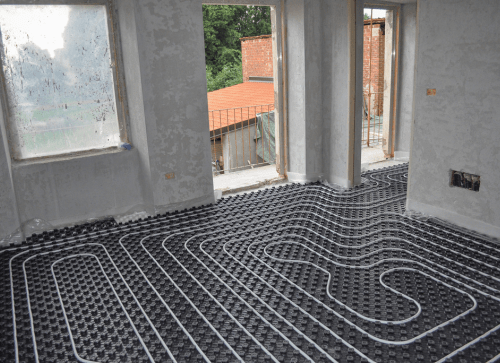
Before installation, it is crucial to properly prepare the subfloor by ensuring it is clean, dry, and free from any obstructions or imperfections, and if insulation boards are part of the plan, follow the manufacturer’s instructions for their installation.
- Choose the layout: Make a precise floor plan for the space that shows where you want the underfloor heating pipes to go. Think about where you want your furniture to go, where the heater is, and how much heat you need in each room.
- Assemble the supplies: Obtain the essential supplies, such as a manifold, pipe clips, insulation boards (if necessary), and underfloor heating pipes.
- Prepare the subfloor: Make sure the subfloor is clean, dry, and devoid of obstructions or imperfections. Install insulation boards as directed by the manufacturer if using them.
Step 2: Prepare the System for Pressure Testing
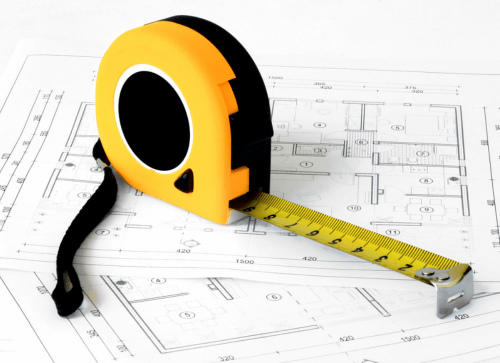
Begin by carefully inspecting all the connections and fittings to verify that they are properly installed and securely tightened. Next, close any manual isolation valves to isolate the system and prevent water from flowing during the pressure test.
By effectively sealing the system, you can create a closed-loop subjected to the necessary pressure for testing its integrity and identifying any potential leaks or weak points.
Preparing the UFH system for pressure testing adequately ensures that the subsequent test will be reliable and provide valuable information about the system’s performance and durability. In addition, it is an important step in ensuring the long-term efficiency and functionality of the underfloor heating installation.
Step 3: Connect the Pressure Testing Equipment
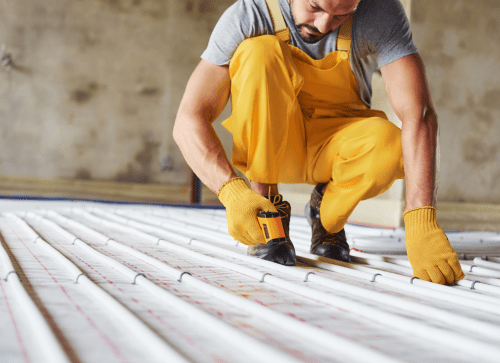
Attach the air compressor or pressure testing pump to the UFH system using the necessary adapters and fittings. These components are crucial for generating and maintaining the required pressure within the system during the testing process.
To ensure a tight and reliable seal on the threaded connections. Applying these sealing materials helps prevent any air or water leakage that could compromise the accuracy of the pressure test.
Attention to detail and thoroughness in connecting the pressure testing equipment is essential for a successful pressure test. This step ensures that the UFH system is subjected to the necessary pressure and enables the detection of any potential leaks or weaknesses that may require further attention or adjustments.
Step 4: Pressurise the System
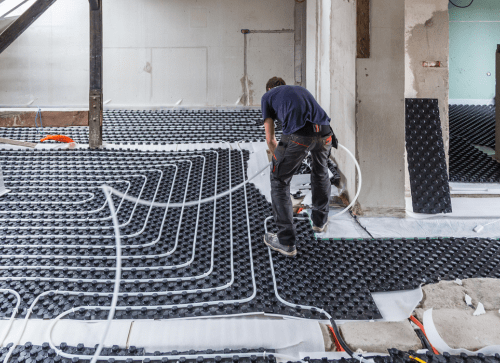
As you begin pressurising the system, it’s important to gradually and follow the manufacturer’s recommendations or installation instructions. The specified pressure setting may vary depending on the specific requirements of your UFH system. The pressure range for UFH systems typically falls within the 1.5 to 3 bar (22 to 43 psi).
By closely monitoring the pressure gauge, you can observe a gradual increase in pressure as you operate the air compressor or pressure testing pump. Don’t exceed the recommended pressure range, as doing so could potentially damage the system components.
During this step, it is advisable to pay close attention to any indications of pressure loss or fluctuations on the gauge. For example, a sudden pressure drop could indicate a leak or an issue within the system that requires further investigation.
Step 5: Inspect for Leaks
During the inspection, be vigilant for any visible water drops that could indicate a system leak. Additionally, pay attention to hissing noises or sudden changes in the pressure gauge readings, as these could also suggest the presence of a leak. By addressing any leaks or weak points at this stage, you can prevent potential issues and ensure the long-term efficiency of the UFH system.
Look for any signs of moisture, such as water stains or dampness around joints, as these can indicate a leak. Also, pay close attention to areas where pipes are linked together, as these connections are particularly prone to leaks if not properly secured. If you detect any leaks during the inspection, take immediate action to rectify the problem.
This step is an important part of the installation process, as it helps guarantee the efficient operation of the system and provides peace of mind knowing that the system is free from leaks
Step 6: Maintain Pressure and Monitor
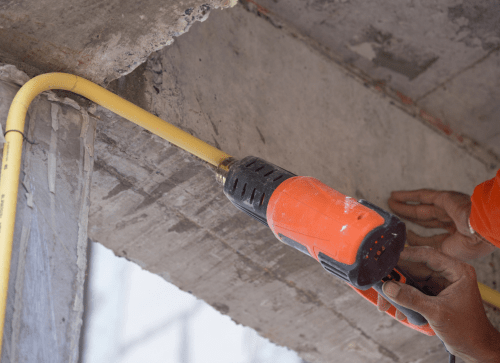
After completing the visual inspection, it is important to maintain the system’s pressure for an extended period to ensure that any potential leaks become apparent. Typically, 15 to 30 minutes is recommended for this step. By maintaining pressure and monitoring the pressure gauge, you can identify any fluctuations or drops in pressure that may indicate the presence of a leak.
During this time, keep a close eye on the pressure gauge and observe any noticeable changes. If the pressure remains stable throughout the duration, it is a positive sign that the system is properly sealed. However, if you observe a sudden pressure drop, it could indicate the presence of a leak in the system.
To pinpoint the source of the leak, carefully inspect all the components, joints, and connections again. During the initial visual inspection, pay particular attention to areas that show signs of potential weakness.
Step 7: Identify and Fix Leaks
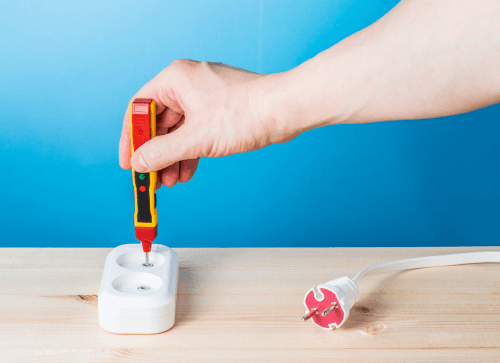
To begin the repair process, release the pressure from the system by slowly opening the release valve or following the manufacturer’s instructions. This will allow you to work on the system safely without the risk of pressurised components.
Once the pressure is released, proceed to address the identified leaks. Depending on the nature of the leaks, the necessary repairs may involve:
- Tightening fittings.
- Replacing broken or faulty components.
- Addressing any other issues found.
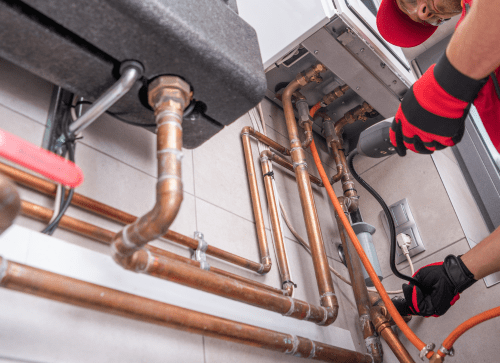
Ensure all repairs are carried out meticulously and follow the appropriate guidelines and best practices. After completing the repairs, it is essential to retest the system to verify that all leaks have been successfully addressed.
Step 8: Record the Pressure Test Results
Once the pressure test has been completed successfully and the system has been verified leak-free, it is important to record the findings for future reference. Documenting the pressure test results is valuable documentation that can be useful for various purposes, including troubleshooting, maintenance, and system optimisation.
Create a detailed record of the pressure test, including the date, time, and duration. In addition, note the initial pressure applied, the target pressure range, and any deviations observed during the test. It is also essential to document the locations of any identified leaks and the actions taken to address them.
This documentation will serve as a reference point for future maintenance activities, enabling you to track the system’s performance over time and identify recurring issues.

Laying Underfloor Heating Pipes
Pressure testing is A vital step in ensuring your underfloor heating system is reliable and effective. Using the step-by-step instructions in this manual, you can successfully test your UFH system, find any leaks or vulnerabilities, and fix them before the system is placed into operation.
When the system is installed, maintained, or modified, it is advised to do regular pressure tests. It is always essential to seek the help of a professional installation or contact JCW Underfloor Heating for advice and assistance if you are unsure how to conduct a pressure test or run into complicated problems.
