14
Mar 2024
How To Fit Underfloor Heating
Installing underfloor heating is an efficient way to heat a home, offering even distribution of warmth and the luxury of warm floors underfoot. The installation process varies depending on whether you’re fitting electric (dry) or water-based (wet) underfloor heating systems, and whether it’s being installed in a new build or retrofitted into an existing property. Here’s a general overview of both types:
Electric Underfloor Heating
- Preparation: Before installation, make sure the subfloor is clean, dry, and level. Installing insulation boards directly beneath the heating mats or cables is recommended to improve efficiency by directing the heat upwards.
- Laying Heating Mats or Cables: Electric underfloor heating typically comes in mat form, which can be rolled out to cover the floor area. For irregularly shaped rooms, loose cable systems offer more flexibility. The mats or cables should be laid out according to the manufacturer’s instructions, ensuring even spacing and avoiding overlap.
- Electrical Connections: This step should be carried out by a qualified electrician. It involves connecting the heating system to the power supply and installing a thermostat to control the temperature.
- Floor Covering: Once the heating system is installed, you can lay your choice of floor covering on top. Ensure the flooring material is compatible with underfloor heating. Some materials, like thick carpets, can insulate the heat, reducing the system’s efficiency.

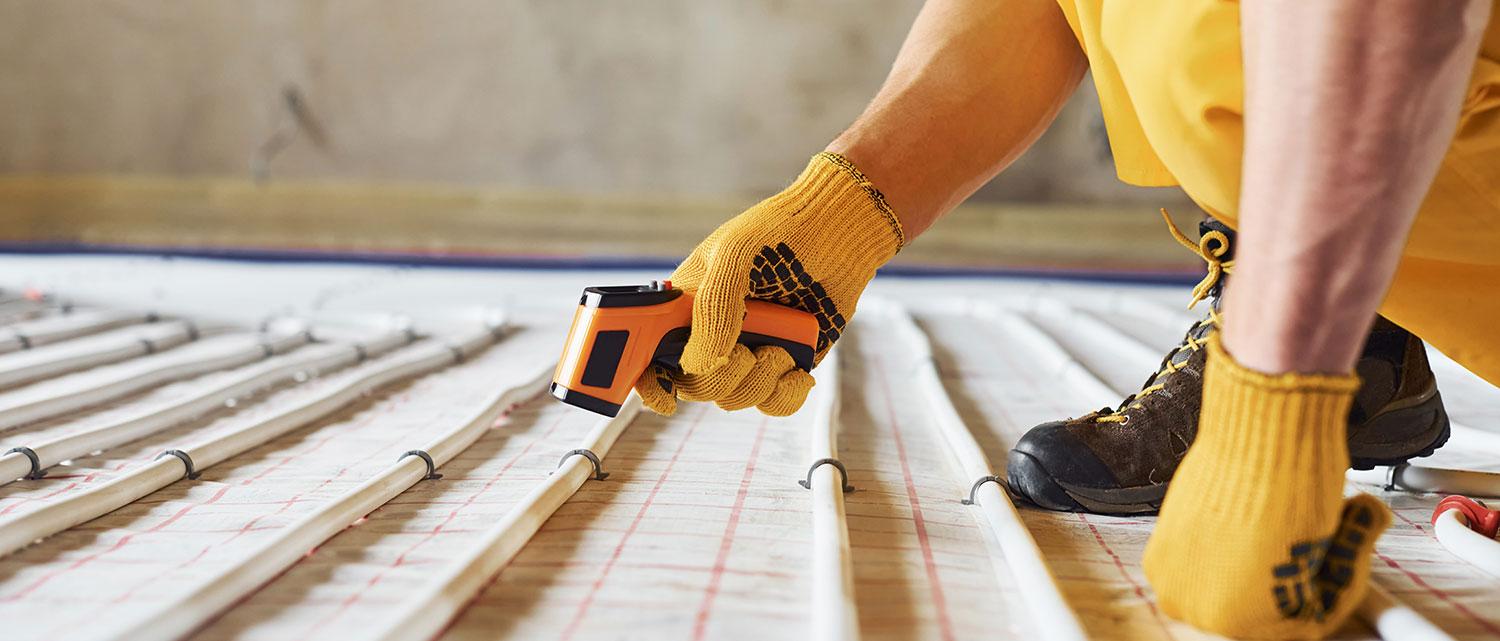
Water-Based Underfloor Heating

- Preparation: As with electric systems, the sub-floor must be prepared, ensuring it’s clean, dry, and level. Insulation is also important to improve heat distribution and efficiency.
- Installing the Pipes: Water-based systems involve laying a network of pipes connected to your central heating system. These pipes are typically fixed to insulation panels with a loop pattern to ensure even heat distribution. The layout and spacing of the pipes will depend on the specific heating requirements of the room.
- Connecting to the Boiler: The pipework is then connected to your boiler or a separate heating pump. This should be done by a qualified heating engineer to ensure it complies with all relevant regulations.
- Screed and Floor Covering: A layer of screed may be poured over the pipes to provide a smooth, level surface for the floor covering. After the screed has dried, you can install your final floor covering. As with electric systems, ensure the flooring material is suitable for use with underfloor heating.
Considerations
- Insulation: Proper insulation is crucial for the efficiency of underfloor heating systems. It ensures that the heat is directed upwards into the room rather than being absorbed by the subfloor.
- Professional Installation: While DIY installation is possible, especially for electric systems, professional installation is recommended to ensure the system operates efficiently and safely.
- Building Regulations: Check local building regulations and standards, as underfloor heating installations may need to comply with specific requirements.
- Floor Height: Installing underfloor heating can raise the level of the floor, which may need to be considered, especially in renovations.
Whether you’re considering electric or water-based underfloor heating, it’s essential to research thoroughly and consult with professionals to ensure the system meets your needs and is installed correctly for optimal performance.
If you need further help with underfloor heating, please get in touch with JCW Underfloor Heating today. Our team can help you with everything from planning and installation to maintenance and repairs. We offer a wide range of underfloor heating systems to suit all budgets and requirements. Contact us today to discuss your needs and get a free quote.